An exploration of Food Photography
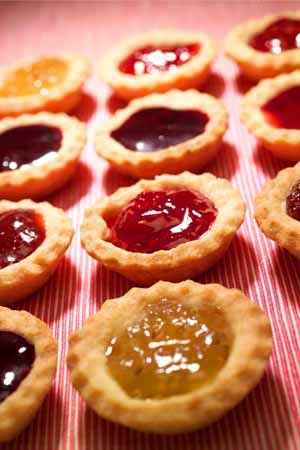
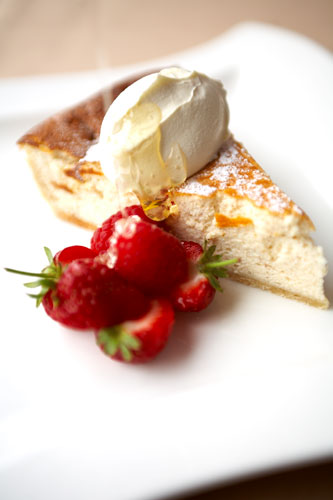
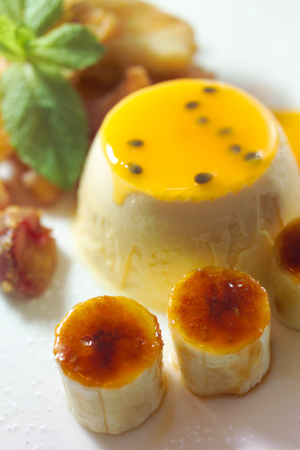
- Cooked item
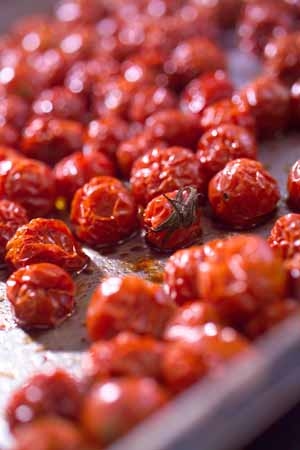
- Raw / uncooked item
1. Lighting
Treat the food youre photographing as you would any other still life subject and ensure that it is well lit. Many of the poor examples of food photography that Ive come across in the research for this article could have been drastically improved with adequate lighting. One of the best places to photograph food is by a window where there is plenty of natural light - perhaps supported with flash bounced off a ceiling or wall to give more balanced lighting that cuts out the shadows. This daylight helps to keep the food looking much more natural.
2. Props
Pay attention not only to the arrangement of the food itself but to the context that you put it in including the plate or bowel and any table settings around it. Dont clutter the photo with a full table setting but consider one or two extra elements such as a glass, fork, flower or napkin. These elements can often be placed in secondary positions in the foreground or background of your shot.
3. Be Quick
Food doesnt keep its appetizing looks for long so as a photographer youll need to be well prepared and able to shoot quickly after its been cooked before it melts, collapses, wilts and/or changes color. This means being prepared and knowing what you want to achieve before the food arrives. One strategy that some use is to have the shot completely set up with props before the food is ready and then to substitute a stand-in plate to get your exposure right. Then when the food is ready you just switch the stand-in plate with the real thing and youre ready to start shooting.
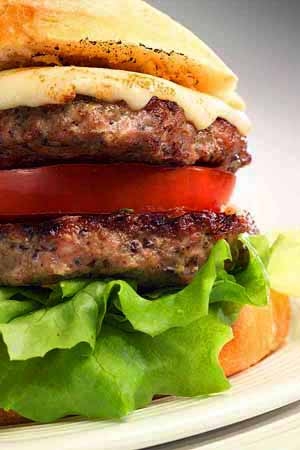
4. Style itThe way food is set out on the plate is as important as the way you photograph it. Pay attention to the balance of food in a shot (color, shapes etc) and leave a way into the shot (using leading lines and the rule of thirds to help guide your viewers eye into the dish). One of the best ways to learn is to get some cook books to see how the pros do it.
5. Enhance it
Have some vegetable oil on hand and to brush it over food to make it glisten in your shots.
6. Get Down Low
A mistake that many beginner food photographers make is taking shots that look down on a plate from directly above. While this can work in some circumstances - in most cases youll get a more better shot by shooting from down close to plate level (or slightly above it).
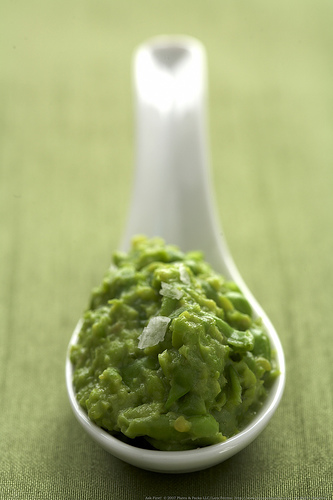
7. Macro
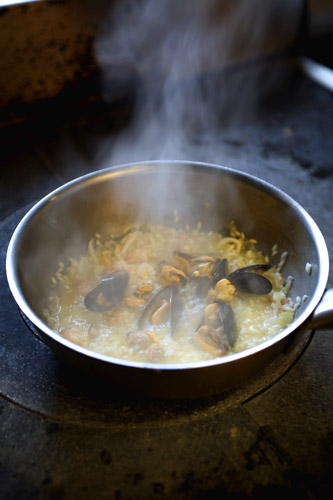
Really focusing in upon just one part of the dish can be an effective way of highlighting the different elements of it.8. Steam
Having steam rising off your food can give it a just cooked feel which some food photographers like. Of course this can be difficult to achieve naturally. One food stylist added steam with a number of artificial strategies including microwaving water soaked cotton balls and placing them behind food.
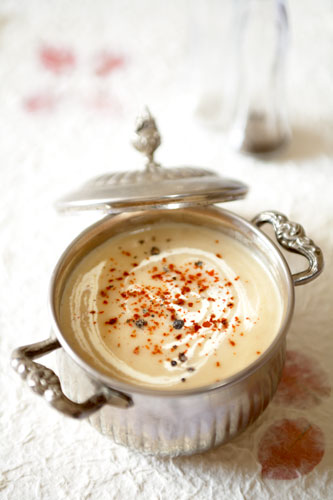
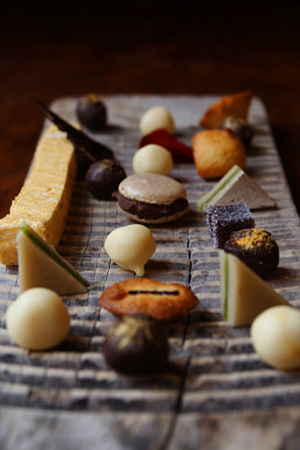
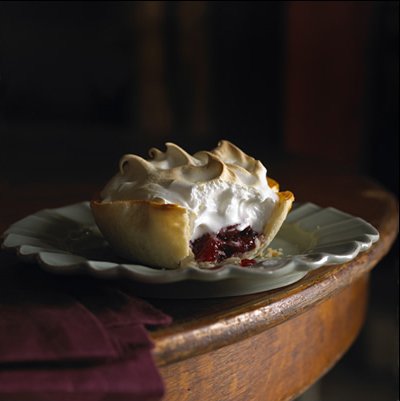
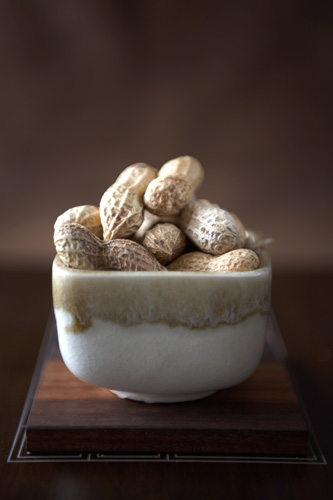
Image
Examples
 |
 |
 |
 |
 |
 |
 |
 |
 |
 |
 |
|
 |
 |
 |
 |