Intro
Portrait Lighting set-ups
There are basically five commonly excepted portrait lighting setups in photography. These portrait lighting setup are based on the placement of the main light, relative to the subject and camera.
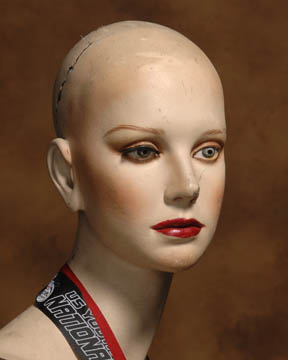
Out of the five types of portrait lighting set-ups, three are related to both subject AND camera position. In most portrait situations, the subject will be pointing his(or her) nose to one side of the camera or the other. This will mean that the camera will see more of one side of the face than the other. Lets call the more exposed side of the face, the broad side of the face and the less exposed side of the face the short side.
Lighting Ratios

Difference
Difference
lighting
Stop
color photography
1/2 Stops
black & white photography
Stops
lighting, low key
Stops
dramatic, low key
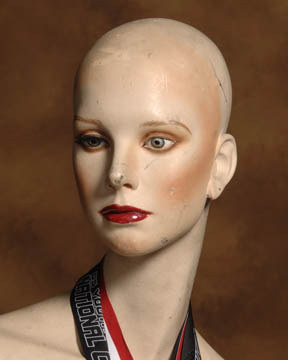
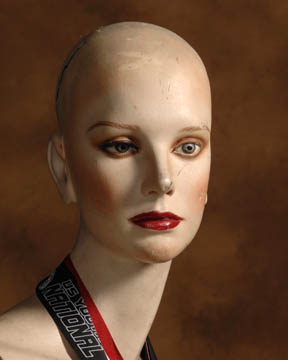
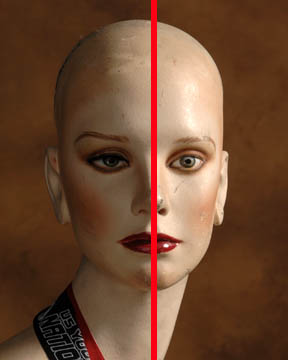
Broad Lighting

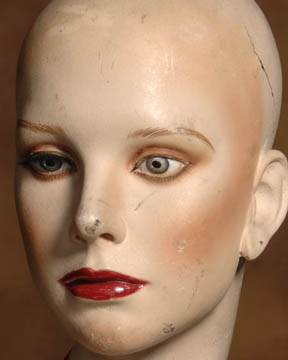
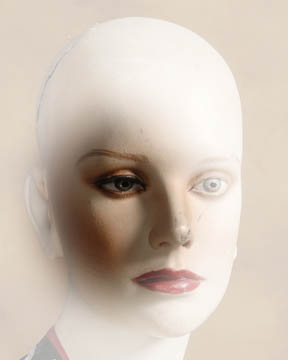
Short Lighting

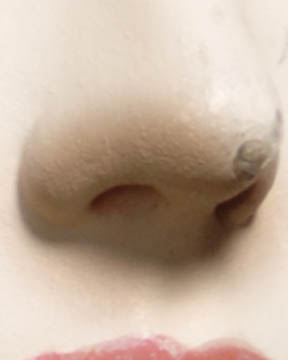
* Notice how the patch of light is on the "large side of the face.
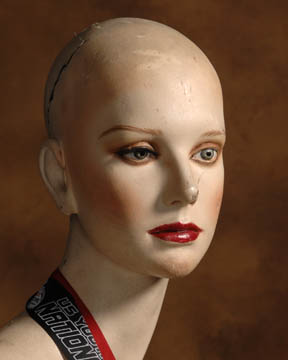
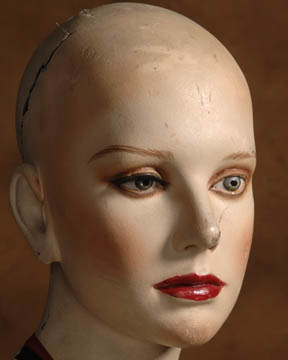
Rembrandt Lighting
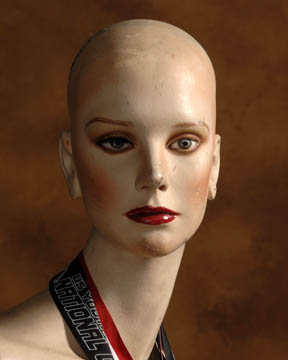
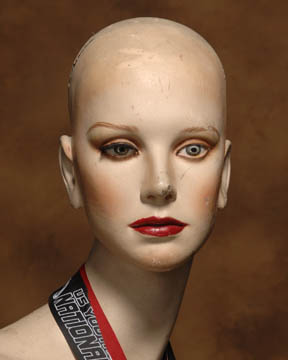
There is no concrete answer to that. It all will depend on the specific subject. Again, photography is an art form and different artists will select different light positions. For me, I try to get the light as high as I can without casting a shadow from the eye socket onto the eye. I like to see both eyes lit. (except for split lighting) this lighting position will be different with each individual. Some people have deeper eye sockets than others. Some people look Asian –like and some look like Neanderthals. With Neanderthals, I simply lower the light until I see those baby browns. If the subject is “normal”, whatever that is, I like to raise the light to a point that the nose shadow is cast nicely downwards. I just think it looks a little weird to see the shadow from the nose cast horizontally across the cheek. Light comes from above, which makes light from above more comfortable.
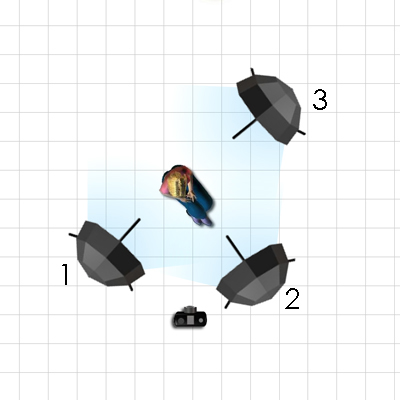
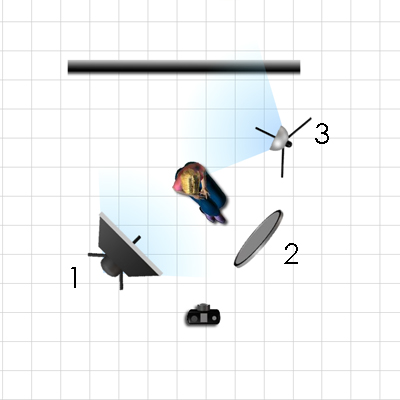
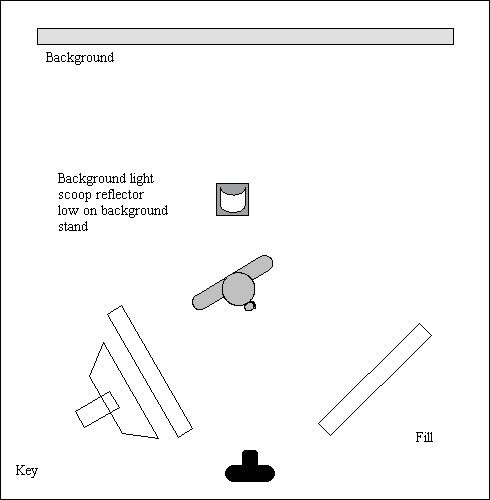
Light #1 is called the “key” or “main”
light. It is the main source of light for the subject. It’s main
purpose is not only to light the subject but also to provide depth by
creating shadows. This is why the position of the key light is off camera
left.
Light #2 is called the fill light. I have it slightly
off camera right, which is fine, but you really want to keep it as close
to the camera’s axis as possible. For a standard portrait, you
want to have the fill light at about half power compared to the key
light. This is not an absolute (nothing in photography is). If you want
the shadows more prominent then use less fill light. The point is that
you want the fill light to produce less light than the key light or
you will lose the depth in the portrait.
Light #3 is called the hair light in this position. It’s purpose is to separate the subject from the background by lighting the hair. This effect greatly improves upon the three dimensional look a professional quality portrait should produce. Light #3 can be used in a different way to separate the subject from the background as seen below.
Hairlight
Remember that all of these lights can be adjusted in many different ways. Height, power, and angle all have an important role in determining the outcome of each session. Practice and experimentation is key to being able to flatter your subject.
Key Lighting
High key, low key, and mid key are three classical ways of understanding
portrature. In general they can be equated to exposure and the overall
tone of the image.
The color of the background, the clothing, and any props in the image
all play a role in the tonality of the image.
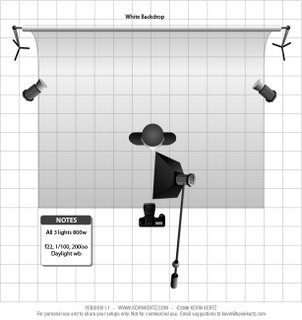
High key

High key can be equated to overexposure where highlight
detail is purposefully lost.
A high key image tends to have more bright elements then dark and is
often described as happy.
The background is typically white or off white.
The background is often overexposed by 3/4 of a stop to become pure
white.
High key images are shot with lower lighting ratios of 2:1 or even 1:1
Mid key
Mid key can be equated to proper exposure represents the type of portature
most of us have been exposed to while growing up in our years of school
portraits. Mid key images have most of their tones in the middle of the
histogram with no extreme highlights or shadows.
Mid key portrature is what we see the most often and it is the easiest
to achieve.
Almost all of the subject lighting scenarios can be achieved using mid
key lighting,
including flat, butterfly, short, broad, window, profile, split, short,
rim and cross.
Low key
Low key can be equated to underexposed images, that have a dark moody quality and shadow detail is purposefully lost. A low key image tends to have more dark elements than bright elements and is often described as moody. It is a predominantly dark image with small areas of brightness. The background is dark. The subject's cloths are dark. Props are dark, etc. Low key images are typically shot with a higher lighting ratio of 3:1 or greater.